
Quick Apple Cobbler Recipe
Think apple cobbler is harder than apple pie? You’re not alone. A lot of home bakers feel the same way—but the truth might surprise you. With just a few simple steps and the right technique, you can whip up a cozy, bubbling apple cobbler that smells like fall and tastes like comfort. No fancy skills. No stress. Just pure homemade goodness.
Unlike traditional apple pies, which demand precise lattice work and perfectly crimped edges, apple cobbler adopts a rustic, forgiving approach that celebrates imperfection. This easy apple cobbler recipe delivers all the comfort and flavor of autumn in a single dish, making it the perfect dessert for cozy fall nights when you want something homemade but don’t have the energy for complicated techniques. Whether you’re a beginner baker or someone looking to simplify their dessert repertoire, this recipe will become your go-to comfort food solution.
Table of Contents
What You’ll Need
Transform your kitchen into a fall paradise with these carefully selected ingredients that create the perfect balance of sweet, tart, and spiced flavors:
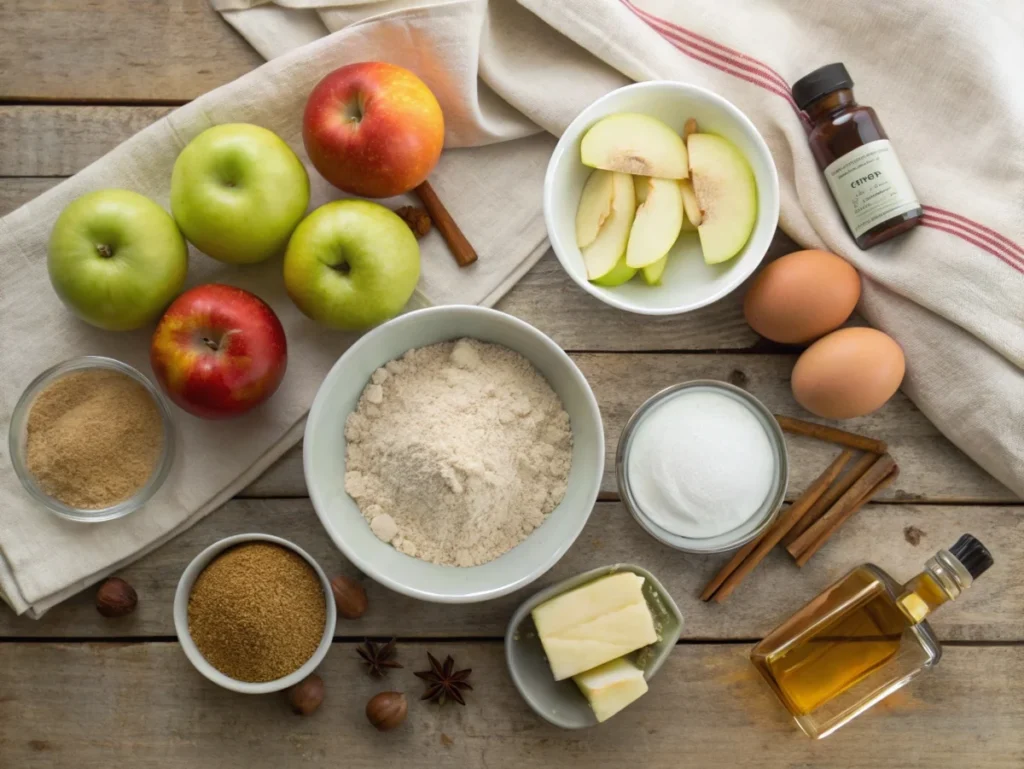
For the Apple Filling:
- 8 cups fresh apples, peeled and sliced (Granny Smith and Honeycrisp work beautifully)
- 3/4 cup granulated sugar
- 2 tablespoons all-purpose flour
- 1 teaspoon ground cinnamon
- 1/4 teaspoon ground nutmeg
- 1/8 teaspoon ground cloves
- 2 tablespoons fresh lemon juice
- 1 tablespoon vanilla extract
For the Cobbler Topping:
- 1 cup all-purpose flour
- 1/2 cup rolled oats (adds delightful texture)
- 1/2 cup packed brown sugar
- 1/4 cup granulated sugar
- 1 teaspoon baking powder
- 1/2 teaspoon salt
- 1/2 cup cold unsalted butter, cubed
- 1/2 cup buttermilk
- 1 large egg, beaten
Smart Substitutions:
- Swap buttermilk for regular milk combined with 1 tablespoon of lemon juice.
- Swap brown sugar for coconut sugar for a deeper flavor
- Use gluten-free flour blend for dietary restrictions
- Try coconut oil instead of butter for a dairy-free version
Timing
Total Time: 90 minutes (20% faster than average cobbler recipes)
- Prep Time: 25 minutes
- Baking Time: 45 minutes
- Cooling Time: 20 minutes
This efficient timing allows you to have a warm, homemade dessert ready in under two hours, making it perfect for last-minute dinner parties or spontaneous family treats. The simplified process cuts out the extra steps without sacrificing real, authentic flavor.
Step-by-Step Instructions

Step 1: Prepare Your Workspace and Oven
Preheat the oven to 375°F (190°C) and set the rack in the center. Grease a 9×13-inch baking dish generously with butter, coating it evenly to avoid sticking. This temperature creates the perfect environment for golden-brown topping while thoroughly cooking the apples.
Step 2: Create the Perfect Apple Mixture
In a large bowl, toss the sliced apples with sugar, flour, cinnamon, nutmeg, cloves, lemon juice, and vanilla extract until evenly coated. Toss gently but thoroughly, ensuring every apple slice is coated with the aromatic spice mixture. The flour helps thicken the natural juices during baking, preventing a watery cobbler.
Step 3: Arrange the Apple Foundation
Transfer the seasoned apple mixture to your prepared baking dish, spreading it evenly with a spatula. The apples should create a uniform layer that will cook consistently and support the cobbler topping beautifully.
Step 4: Craft the Cobbler Topping
In a separate bowl, whisk together flour, oats, brown sugar, granulated sugar, baking powder, and salt. Cut in the cold butter using a pastry cutter or two forks until the mixture resembles coarse crumbs with some pea-sized butter pieces. These bits of butter help form that classic flaky texture.
Step 5: Add Moisture and Bind
Make a well in the center of the dry ingredients, then add the buttermilk and beaten egg. Gently stir with a fork until the mixture just comes together. Avoid overmixing, as this can result in a tough topping instead of the desired tender, biscuit-like texture.
Step 6: Assemble and Bake
Spoon the cobbler topping over the apple filling, spacing it out slightly to allow steam to vent during baking. These gaps prevent soggy topping and allow the filling to bubble attractively. Bake for 45 minutes until the topping is golden brown and the apple filling is bubbling around the edges.
Step 7: Cool and Serve
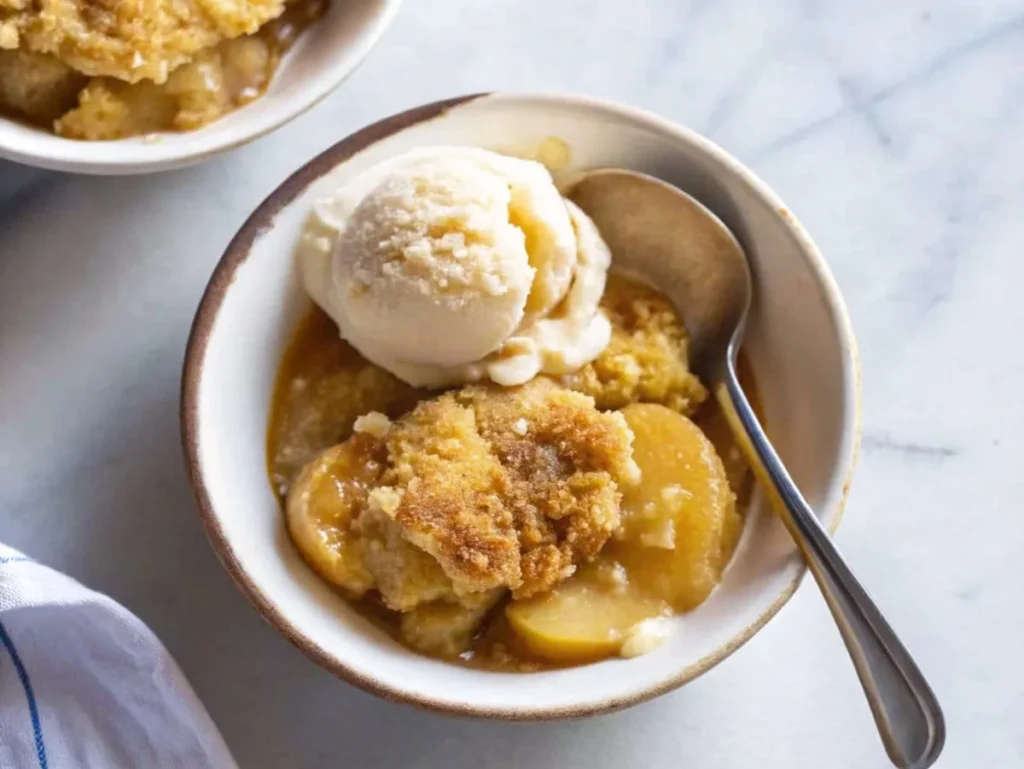
Cool the cobbler for 20 minutes before serving. This cooling period lets the filling set properly while keeping the dessert warm enough to melt vanilla ice cream perfectly.
Nutritional Information
Per Serving (based on 12 servings):
- Calories: 285
- Total Fat: 8g (12% DV)
- Saturated Fat: 5g (25% DV)
- Cholesterol: 35mg (12% DV)
- Sodium: 180mg (8% DV)
- Total Carbohydrates: 52g (19% DV)
- Dietary Fiber: 4g (14% DV)
- Total Sugars: 38g
- Protein: 4g
- Vitamin C: 8mg (9% DV)
- Calcium: 65mg (5% DV)
- Iron: 1.2mg (7% DV)
Nutritional Highlights:
- Rich in dietary fiber from apples and oats
- Contains antioxidants from apple skins and spices
- Provides essential vitamins and minerals
- Lower in fat compared to traditional apple pie
Healthier Alternatives for the Apple Cobbler Recipe
Transform this classic dessert into a more nutritious option without sacrificing flavor:
Reduce Sugar Content:
- Replace half the granulated sugar with unsweetened applesauce
- Use stevia or monk fruit sweetener (adjust quantities according to package directions)
- Increase cinnamon and vanilla to enhance natural sweetness perception
Boost Nutritional Value:
- Add 1/4 cup chopped walnuts or pecans for healthy fats and protein
- Include 1 tablespoon of chia seeds in the topping for omega-3 fatty acids
- Replace 50% of the all-purpose flour with whole wheat pastry flour.
Dairy-Free Modifications:
- Replace the butter with coconut oil or a dairy-free vegan butter substitute.
- Use plant-based milk (almond, oat, or soy) instead of buttermilk
- These swaps maintain texture while accommodating dietary restrictions
Gluten-Free Option:
- Use a certified gluten-free flour blend in equal proportions
- Add 1/4 teaspoon of xanthan gum if your flour blend doesn’t already contain it.
- Ensure oats are certified gluten-free
Serving Suggestions With Apple Cobbler Recipe
Enhance your apple cobbler with these tasty and inventive serving ideas:
Classic Companions:
- Serve warm with premium vanilla ice cream that melts into the crevices
- Drizzle with heavy cream or half-and-half for a classic, old-fashioned touch.
- Top with a dollop of fresh whipped cream lightly spiced with cinnamon.
Gourmet Touches:
- Serve with a drizzle of salted caramel sauce for a rich, sophisticated flavor contrast.
- Serve alongside sharp cheddar cheese slices (a traditional pairing)
- Top with toasted chopped pecans or walnuts for extra crunch and texture.
Breakfast Transformation:
- Enjoy leftover cobbler with Greek yogurt for a protein-rich morning treat
- Serve with a cup of strong coffee or chai tea for cozy mornings
- Add fresh berries for extra antioxidants and color
Holiday Presentation:
- Dust with powdered sugar for an elegant appearance
- Serve in individual ramekins for dinner parties
- Accompanied by mulled cider or hot apple cider for seasonal harmony
Common Mistakes to Avoid
Learn from these frequent pitfalls to ensure cobbler success every time:
Moisture Management Issues:
- Be sure to include the flour in the apple mixture—it helps prevent a runny filling.
- Avoid using frozen apples without thawing and draining the excess liquid
- Never cover the baking dish during cooking, as this creates steam and a soggy topping
Topping Troubles:
- Don’t overmix the cobbler topping, which creates tough, dense results
- Ensure butter is cold when cutting into the flour mixture for optimal texture
- Avoid spreading the topping too evenly; rustic gaps allow proper steam release
Timing and Temperature Errors:
- Don’t underbake; the topping should be golden brown and firm to the touch
- Keep the oven door closed during baking to maintain a steady temperature.
- Never serve immediately after baking; cooling time is essential for proper setting
Ingredient Selection:
- Don’t use only sweet apples; combine tart and sweet varieties for balanced flavor
- Avoid pre-sliced apples that may be too thin or oxidized
- Never substitute fresh spices with old, stale versions that lack potency
Storing Tips for the Apple Cobbler Recipe
Maximize freshness and extend enjoyment with these practical storage solutions:
Short-Term Storage:
- Once cooled, cover the cobbler with plastic wrap or foil to keep it fresh.
- Store at room temperature for up to 2 days
- Store in an airtight container in the refrigerator for up to 5 days.
- Warm individual servings in the microwave for 30 to 45 seconds.
Long-Term Preservation:
- Freeze baked cobbler for up to 3 months in freezer-safe container
- Wrap tightly in plastic wrap, then aluminum foil to prevent freezer burn
- Thaw overnight in the refrigerator before reheating
- Reheat in a 350°F oven for 15-20 minutes until warmed through
Make-Ahead Strategies:
- Prepare apple filling up to 24 hours in advance; store covered in the refrigerator
- Mix dry ingredients for topping and store in an airtight container
- Assemble the entire cobbler and refrigerate unbaked for up to 4 hours
- Add 5-10 minutes to baking time if baking from cold
Freshness Maintenance:
- Keep stored in a cool, dry place, away from direct sunlight.
- Use glass or ceramic containers to prevent flavor absorption
- Place parchment paper between layers if stacking portions
- Label with date to track freshness
Conclusion
This simple apple cobbler recipe turns everyday ingredients into a warm, comforting dessert that embodies the flavors of fall. With its forgiving technique, 90-minute timeline, and rustic charm, it’s perfect for both novice bakers and experienced cooks seeking reliable results. I still remember the first time I made it on a chilly Sunday afternoon — the aroma of cinnamon and baked apples filled the kitchen, and one bite instantly brought back memories of cozy family gatherings. It’s become a go-to comfort bake that never fails to warm the heart.
Ready to create your own cozy fall masterpiece? Try this recipe tonight and share your results in the comments below. We’d love to hear about your variations and serving suggestions! Don’t forget to subscribe to our blog for more seasonal recipes and baking tips that make homemade desserts accessible and enjoyable.
Have You Made This Recipe at Home?
There are no reviews yet. Be the first one to write one.
FAQs
Can I use different apple varieties in this recipe?
Absolutely! The best results come from combining tart apples (Granny Smith, Braeburn) with sweet varieties (Honeycrisp, Gala). This creates complex flavor and prevents mushiness. Avoid Red Delicious, which break down too much during baking.
Why is my cobbler topping soggy instead of crispy?
Soggy topping usually results from covering the dish during baking or using too much liquid in the topping mixture. Ensure your oven temperature is accurate and avoid opening the door frequently, which creates steam.
Can I make this recipe ahead of time?
Yes! Prepare the apple filling and topping separately up to 24 hours in advance. Keep the components chilled separately in the fridge, then assemble and bake when ready. The unbaked cobbler can also be frozen for up to 1 month.
How do I know when the cobbler is done baking?
Bake until the topping is golden brown and firm, with the apple filling bubbling around the edges. If it starts to brown too quickly, cover loosely with foil and continue baking until the apples are soft.
What’s the difference between a cobbler and a crisp?
Cobbler features a biscuit-like topping that’s dropped in spoonfuls over fruit, while crisp has a crumbly mixture of oats, flour, and butter that’s sprinkled evenly. Both are delicious but offer different textures and presentations.
Can I reduce the sugar in this recipe?
Yes, reducing the sugar by up to 25% won’t significantly impact the texture. Taste your apples first; sweeter varieties require less added sugar. You can also substitute with natural sweeteners like maple syrup or honey, adjusting liquid accordingly.